Projects for Parameter Testing
In this article, we will explore in detail the effective use of Cutting Tests, an indispensable tool for optimizing your cutting projects.
These tests are designed to help you determine the best cutting parameters, such as speed and power, specifically adapted to the characteristics of your material.
Want to delve deeper into the concepts behind these parameters? Come read this comprehensive article where we explain everything in detail.
Cutting Tests: A Strategic Approach
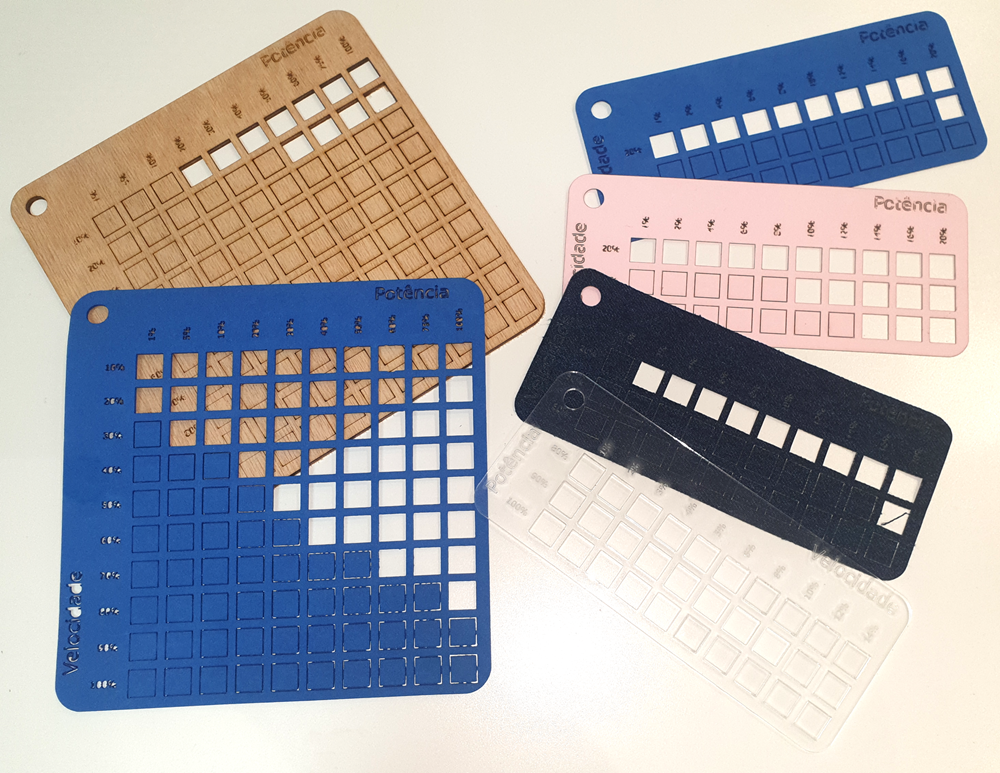
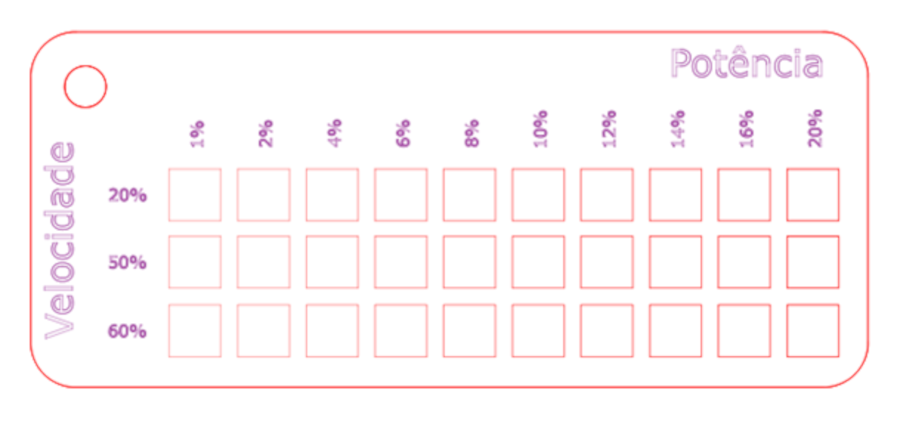
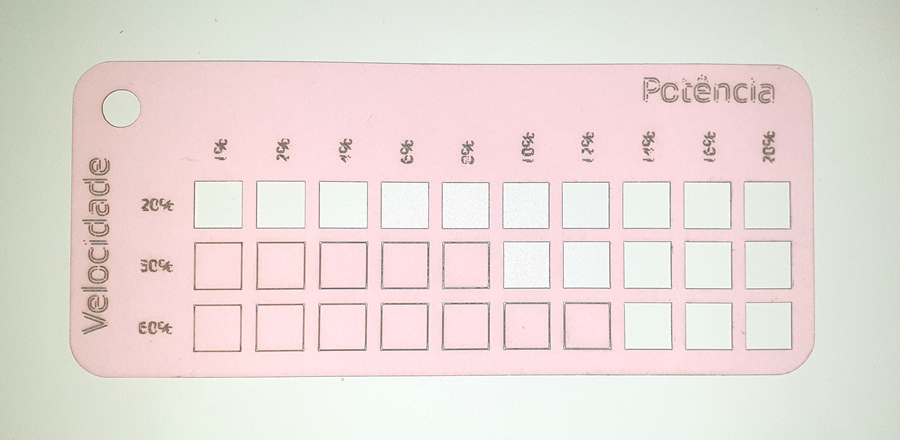
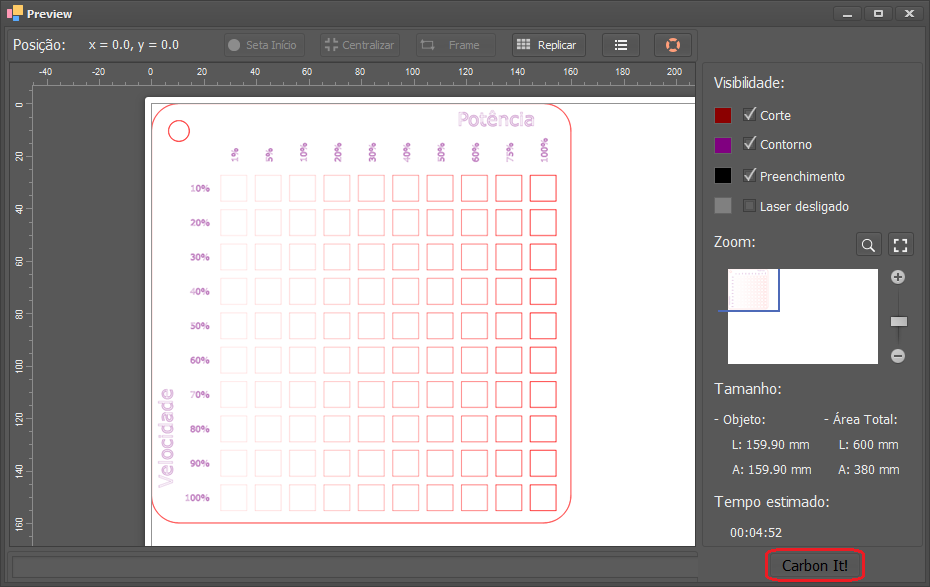
To create the tests, several 1cm x 1cm squares were meticulously produced in different layers, adjusting the relationship between speed and power in each one. This approach allows for a thorough analysis to determine the ideal combination of parameters for your specific material.
Three distinct test models were developed, taking into account the different densities of materials: Light, Medium, and Rigid.
To further facilitate your journey, you can download the cutting tests from our downloads page.
For a deeper understanding of each test and its specific applications, here is a brief explanation:
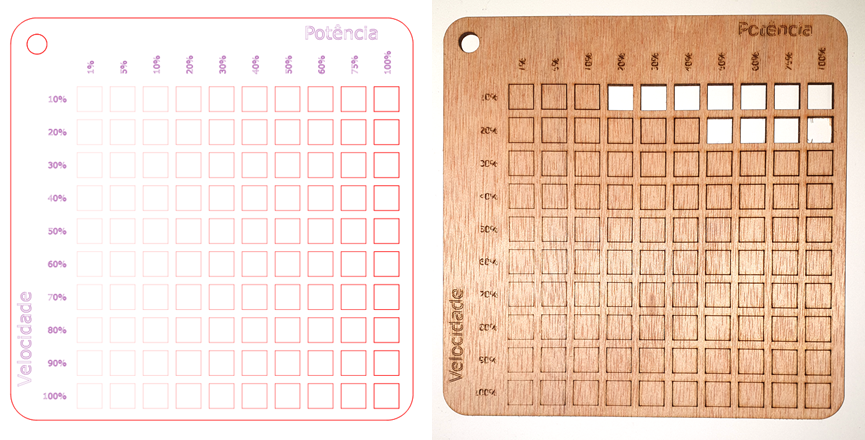
Test for Generic Materials
This model offers a wide range of parameter variations and is especially effective for medium-density materials.
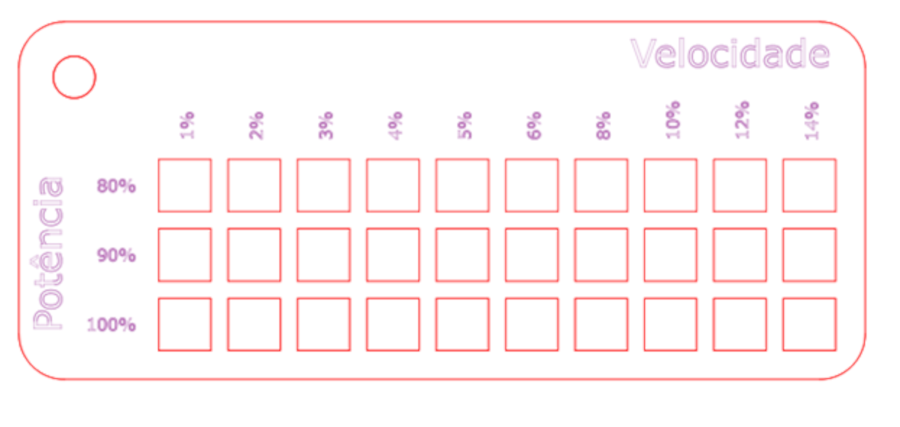
Test for Rigid Materials
Designed for materials such as MDF (between 3mm and 6mm), thick leather (2mm), plywood (3mm), and holler cardboard (3mm), this test features higher power settings and lower speeds.
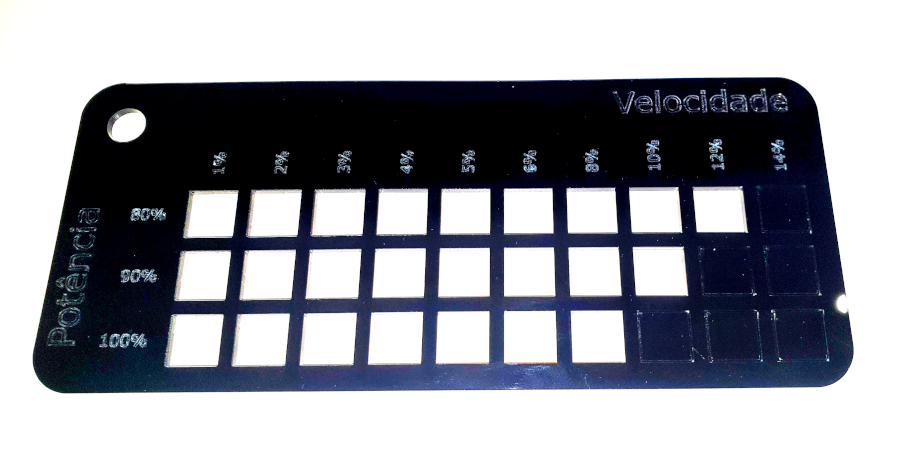
Test for Thin and Light Materials
Indicated for materials such as felt, fabric, and paper up to 180 grams, this test is optimized for lower power and higher speeds.
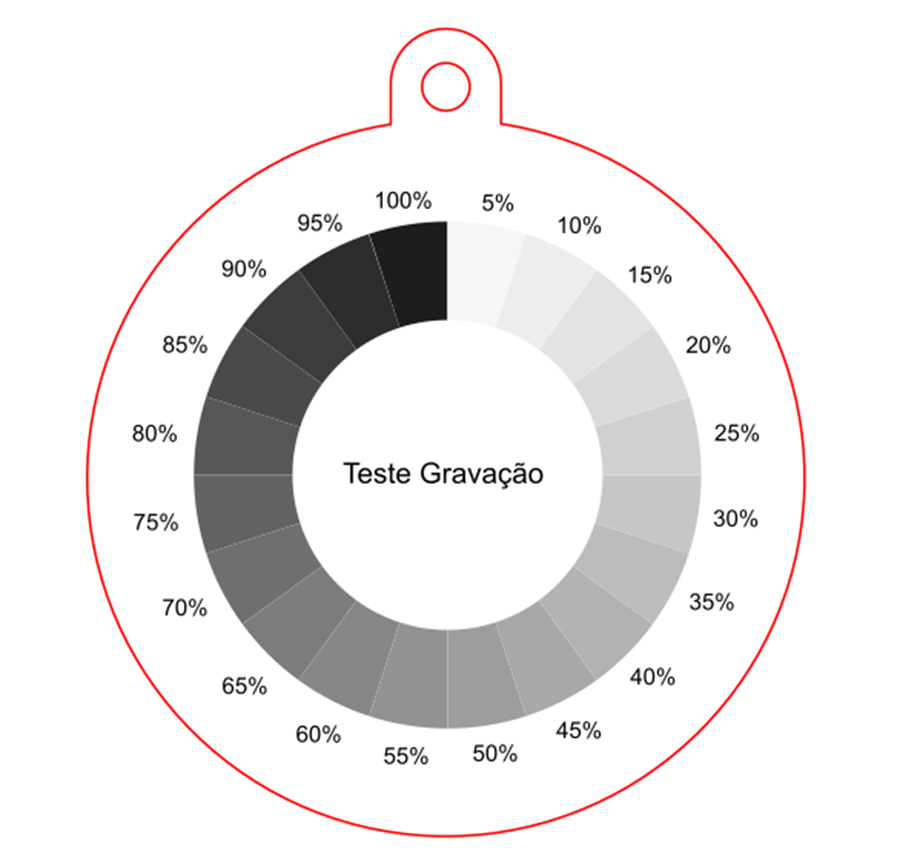
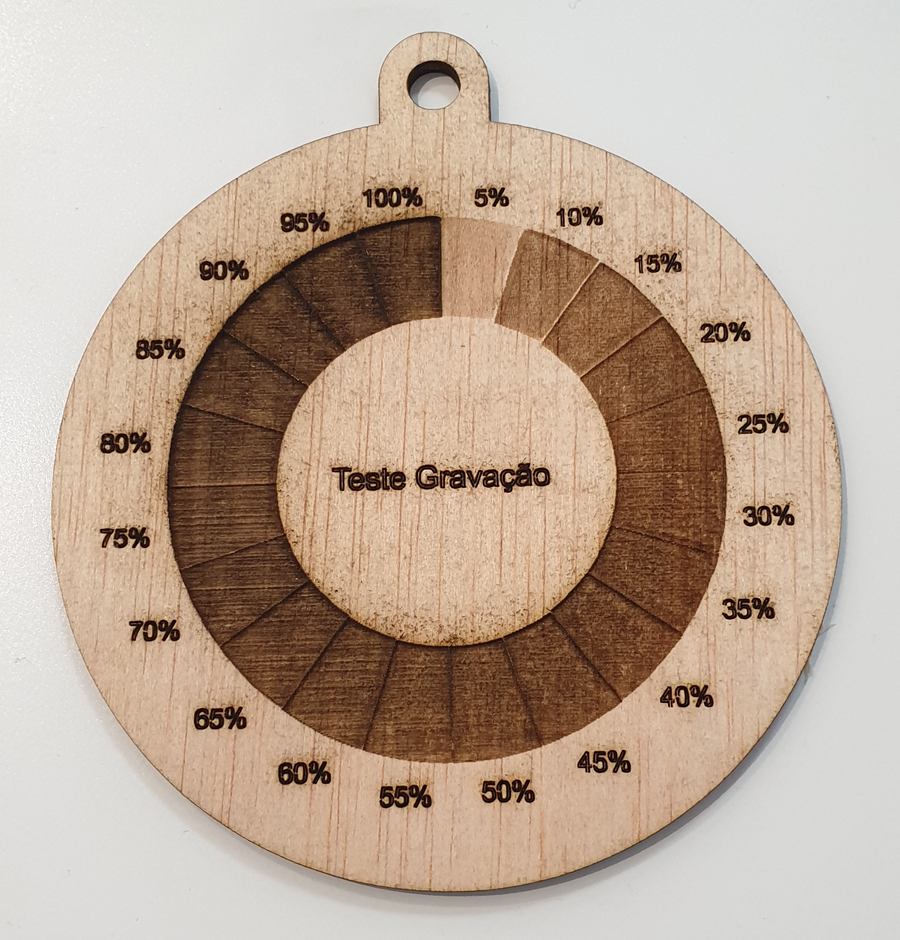
Test for Engravings
This test is used to understand the best parameters for engraving on different types of materials.
Tip:
Use the parameters obtained from the Cutting Tests to speed up testing on materials similar in thickness and rigidity. For example, if you have already tested on 2mm mirrored acrylic, the values obtained can be directly applied to other materials of the same thickness, saving time and material.
How to Execute G-code Files
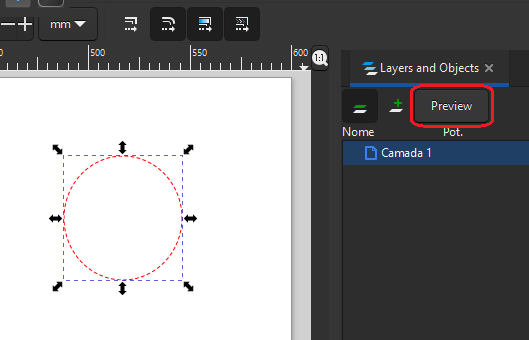
To use the G-code files we provide, you need to use the preview window of Neon Studio. The window will not open if nothing is selected, so draw a small square or circle, select it, and click preview to open the window.
With the preview window open, in the upper right corner, you will find an options button where you can load a G-Code or even save your own. See Figure 7 below.

Click on the Load option, find your G-Code file, it will be loaded into the preview window, and now just click Neon It
This article provides a comprehensive overview of cutting tests, offering an easy and precise approach to determining the ideal parameters for your material.
We hope this detailed exploration will be useful in your future cutting projects and bring efficiency to your practice.